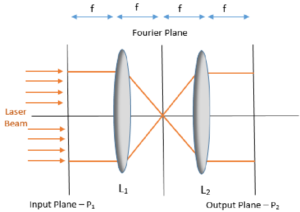
We’ve built a number of image processing systems that use Raspberry Pi and other single board computers together with OpenCV and other Python libraries such as Scikit image and Dlib. For example, take a look at this defect inspection system
This works well for prototyping but for volume production, a RaspberryPi can be overkill. You may not need the processing power it provides and the boards include features and components that are unnecessary and add cost. Moving to simpler lower cost hardware like SMT32 or Atmel makes sense, but making the switch requires embedded software development
Since many of our projects, both internal and for clients, involve a camera and some processing, we have had to work on methods to go beyond the RasberryPi frame work. We started with this development board which works with STM32 MCU’s and an Ominvision OV 7670 (you can buy that in an Arduino package here)
In volume 10,000 +, these two components will do the image capture and processing work we need for a lower price.
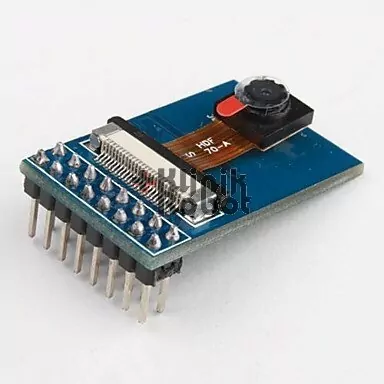
We manage the MCU camera connection with USB 2 virtual COM port and create the MCU software firmware in C language and then the PC software – QT (C++)
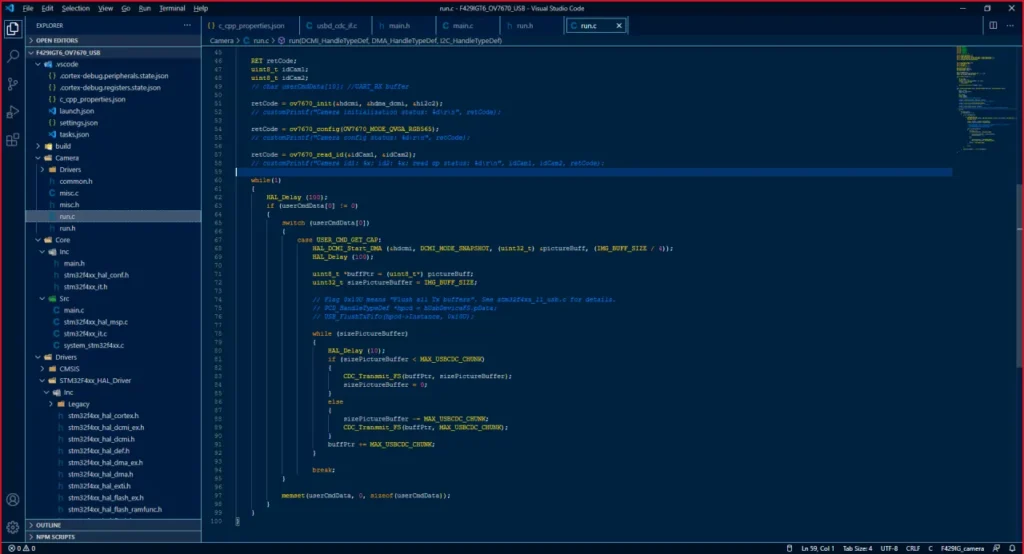
The correct initialization camera setup is not the simplest: there are 201 different registers for camera tuning values, including communication, frame rate, contrast brightness gamma, image scaling, and lens correction-all defined in our firmware. In the image below, you can see the working system with PC software that grabs images from the device.
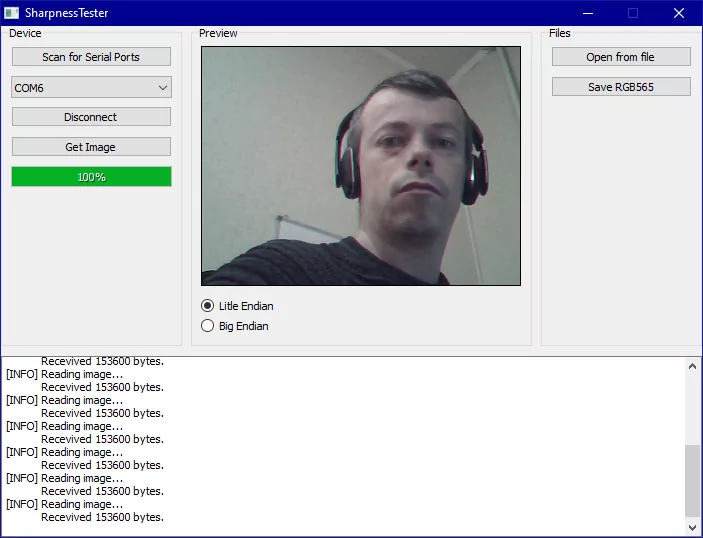
Now that the communication is working, we can replace OpenCV code with only the algorithms we need in C.
If you are interested in the PC code and the MCU code for your project email us at info@opticsforhire.com. We are happy to share it.
